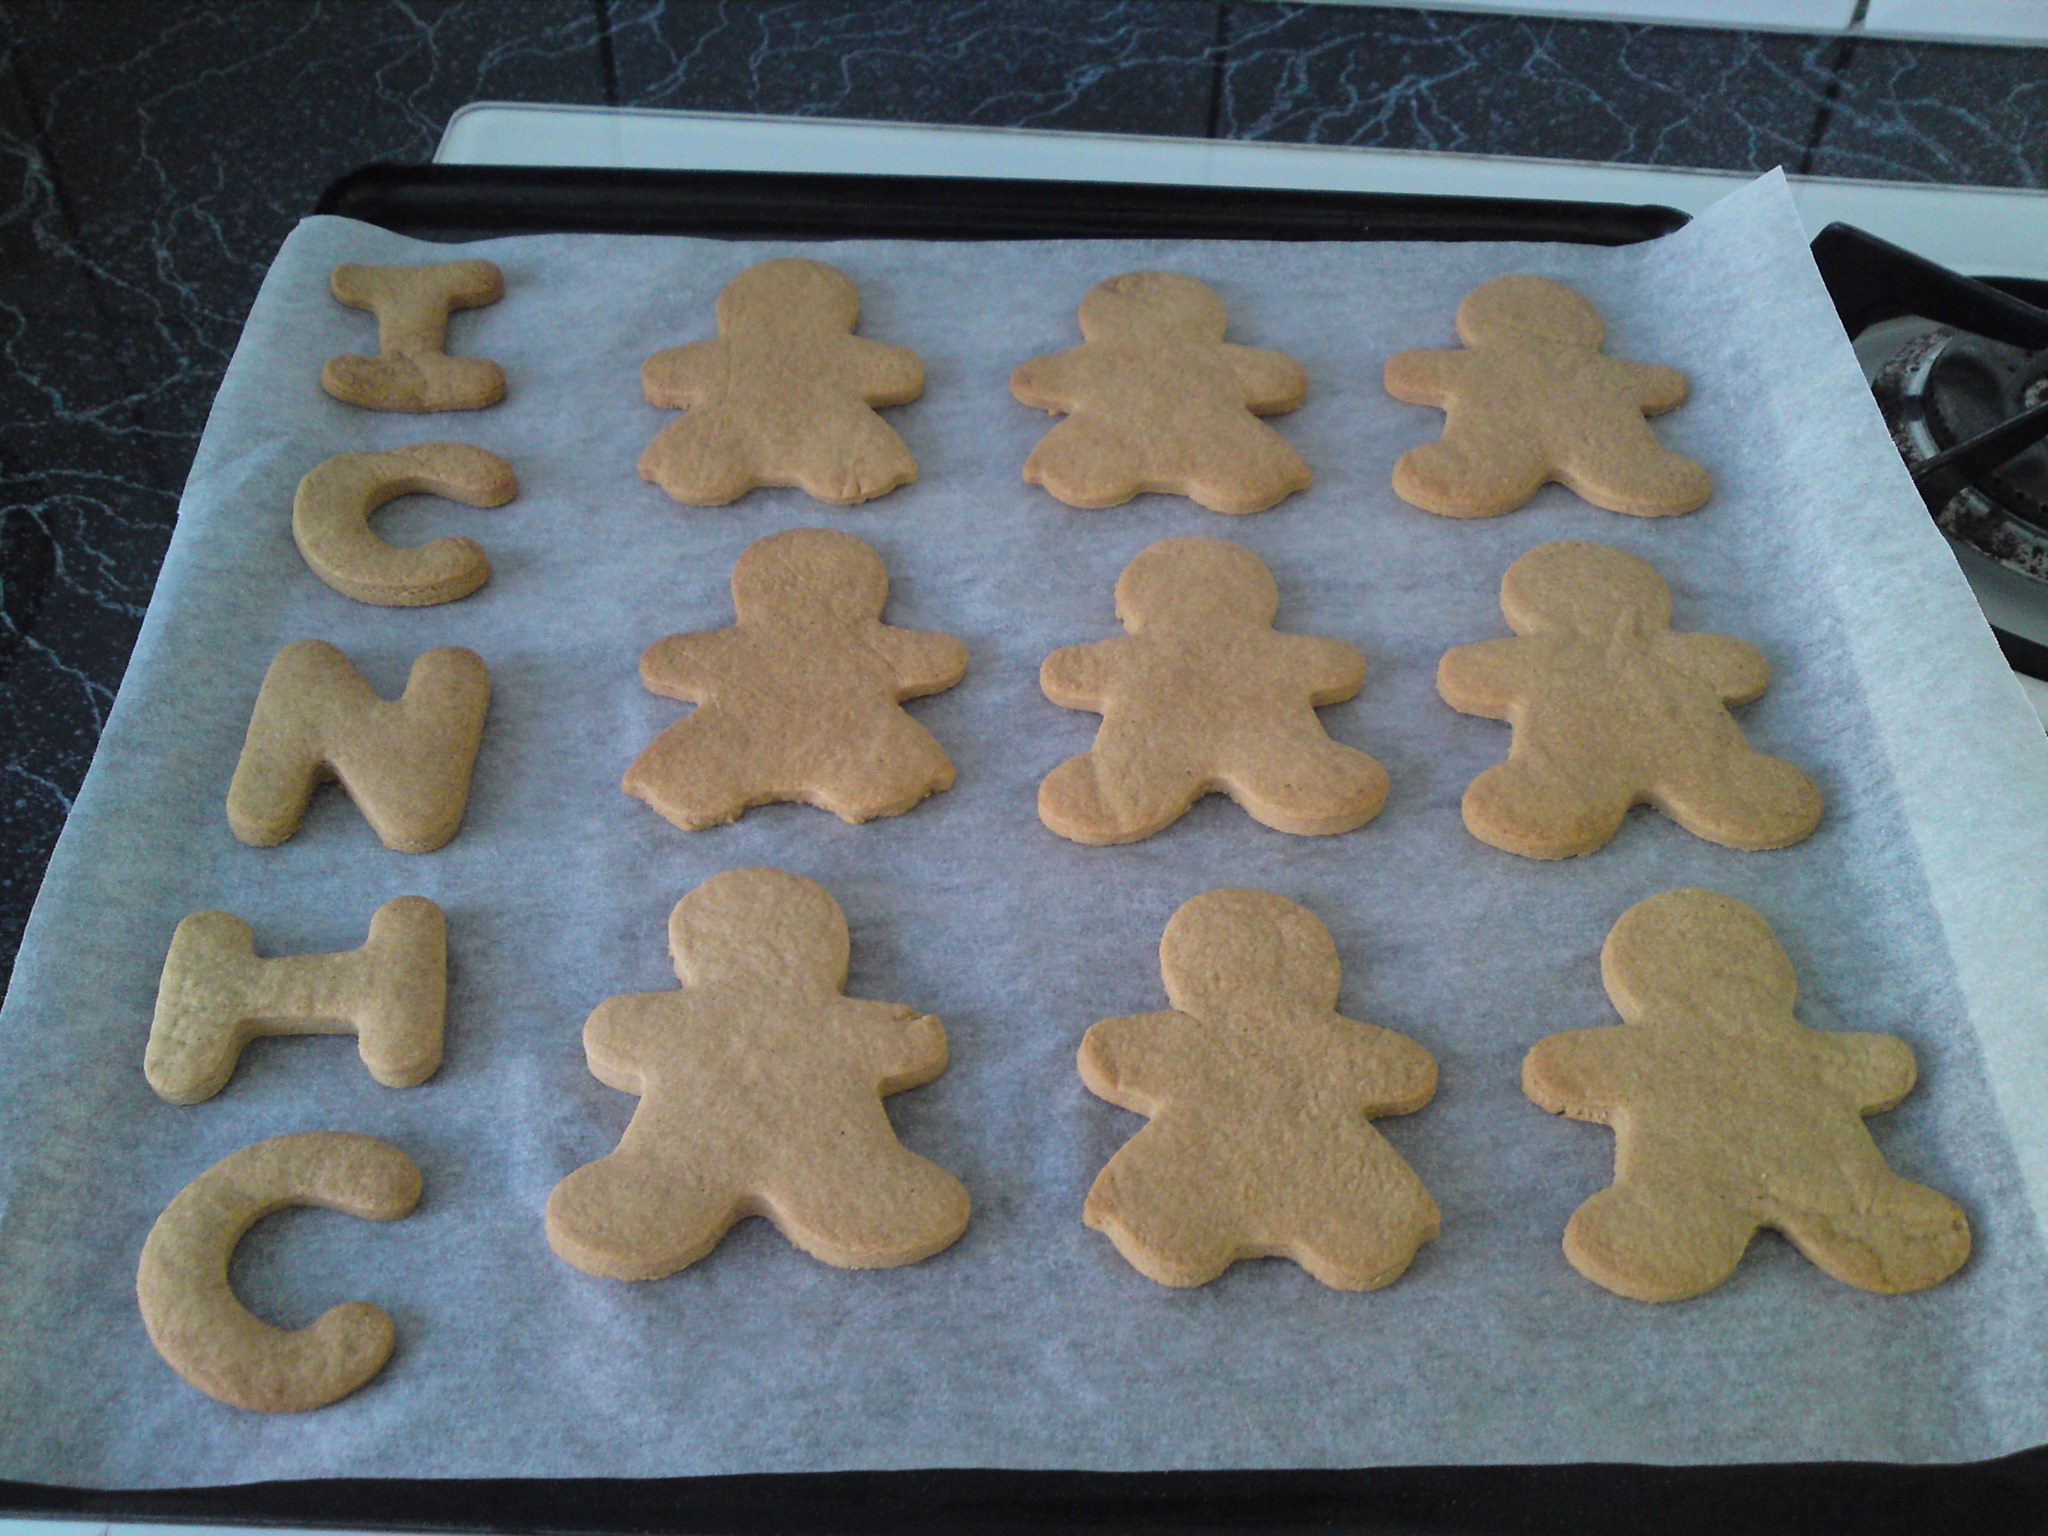
This design is one of our popular ones for wedding bombonieres and it’s actually really simple to do.
It’s a great design for beginners to try because it does not involve a lot of steps and it’s very quick and easy.
Here’s what you will need for this tutorial:
- Mini Heart Cookie Cutter
- Wilton Set of 8 Icing Colors (use white and black)
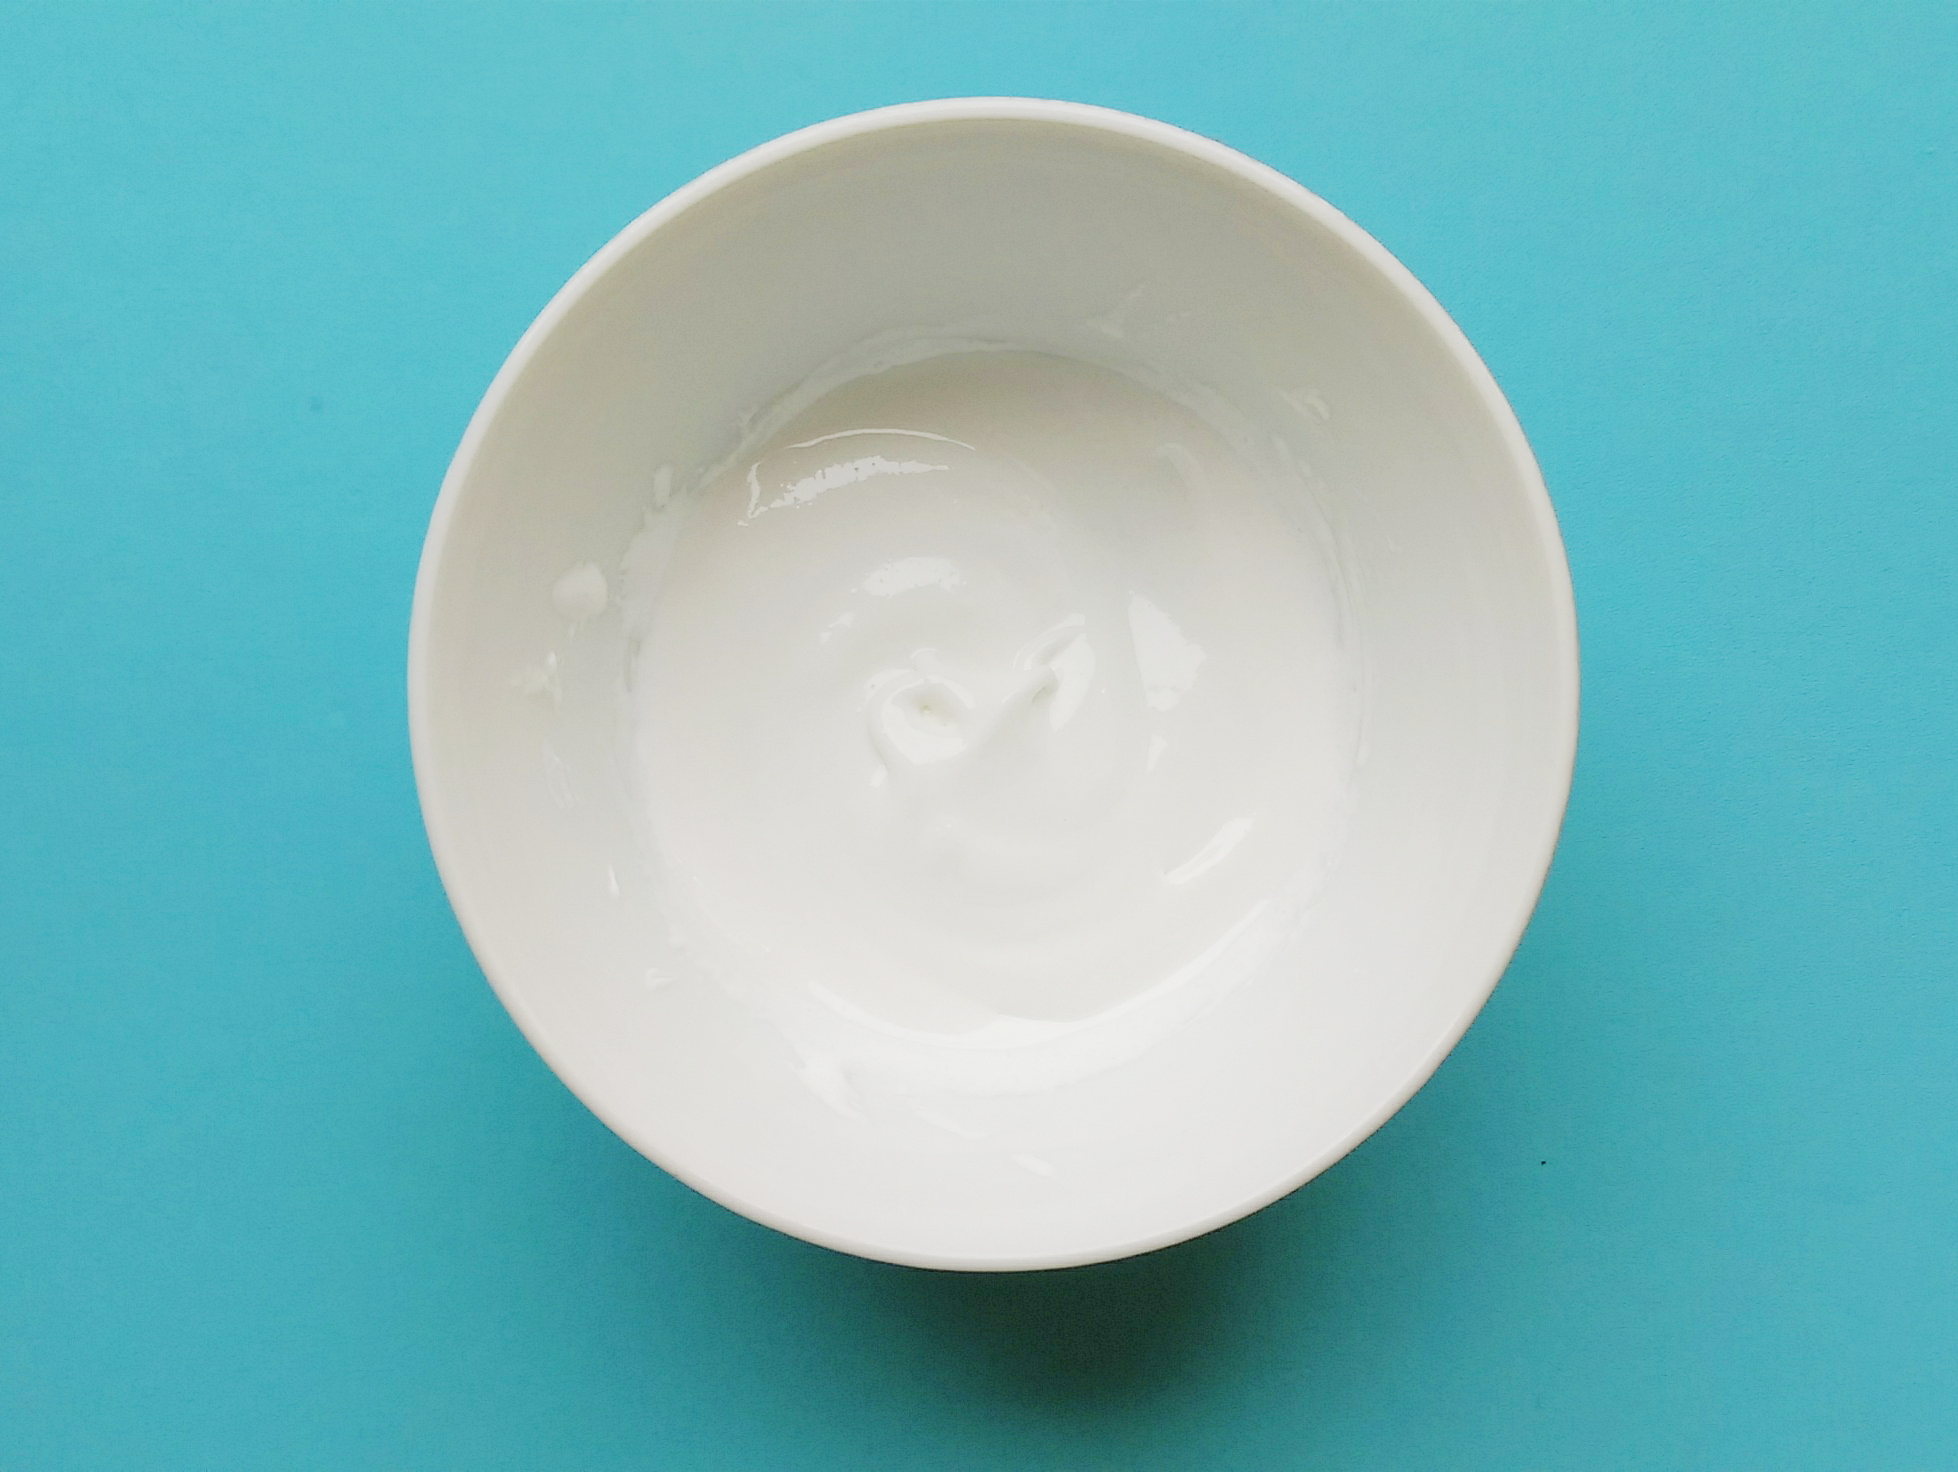
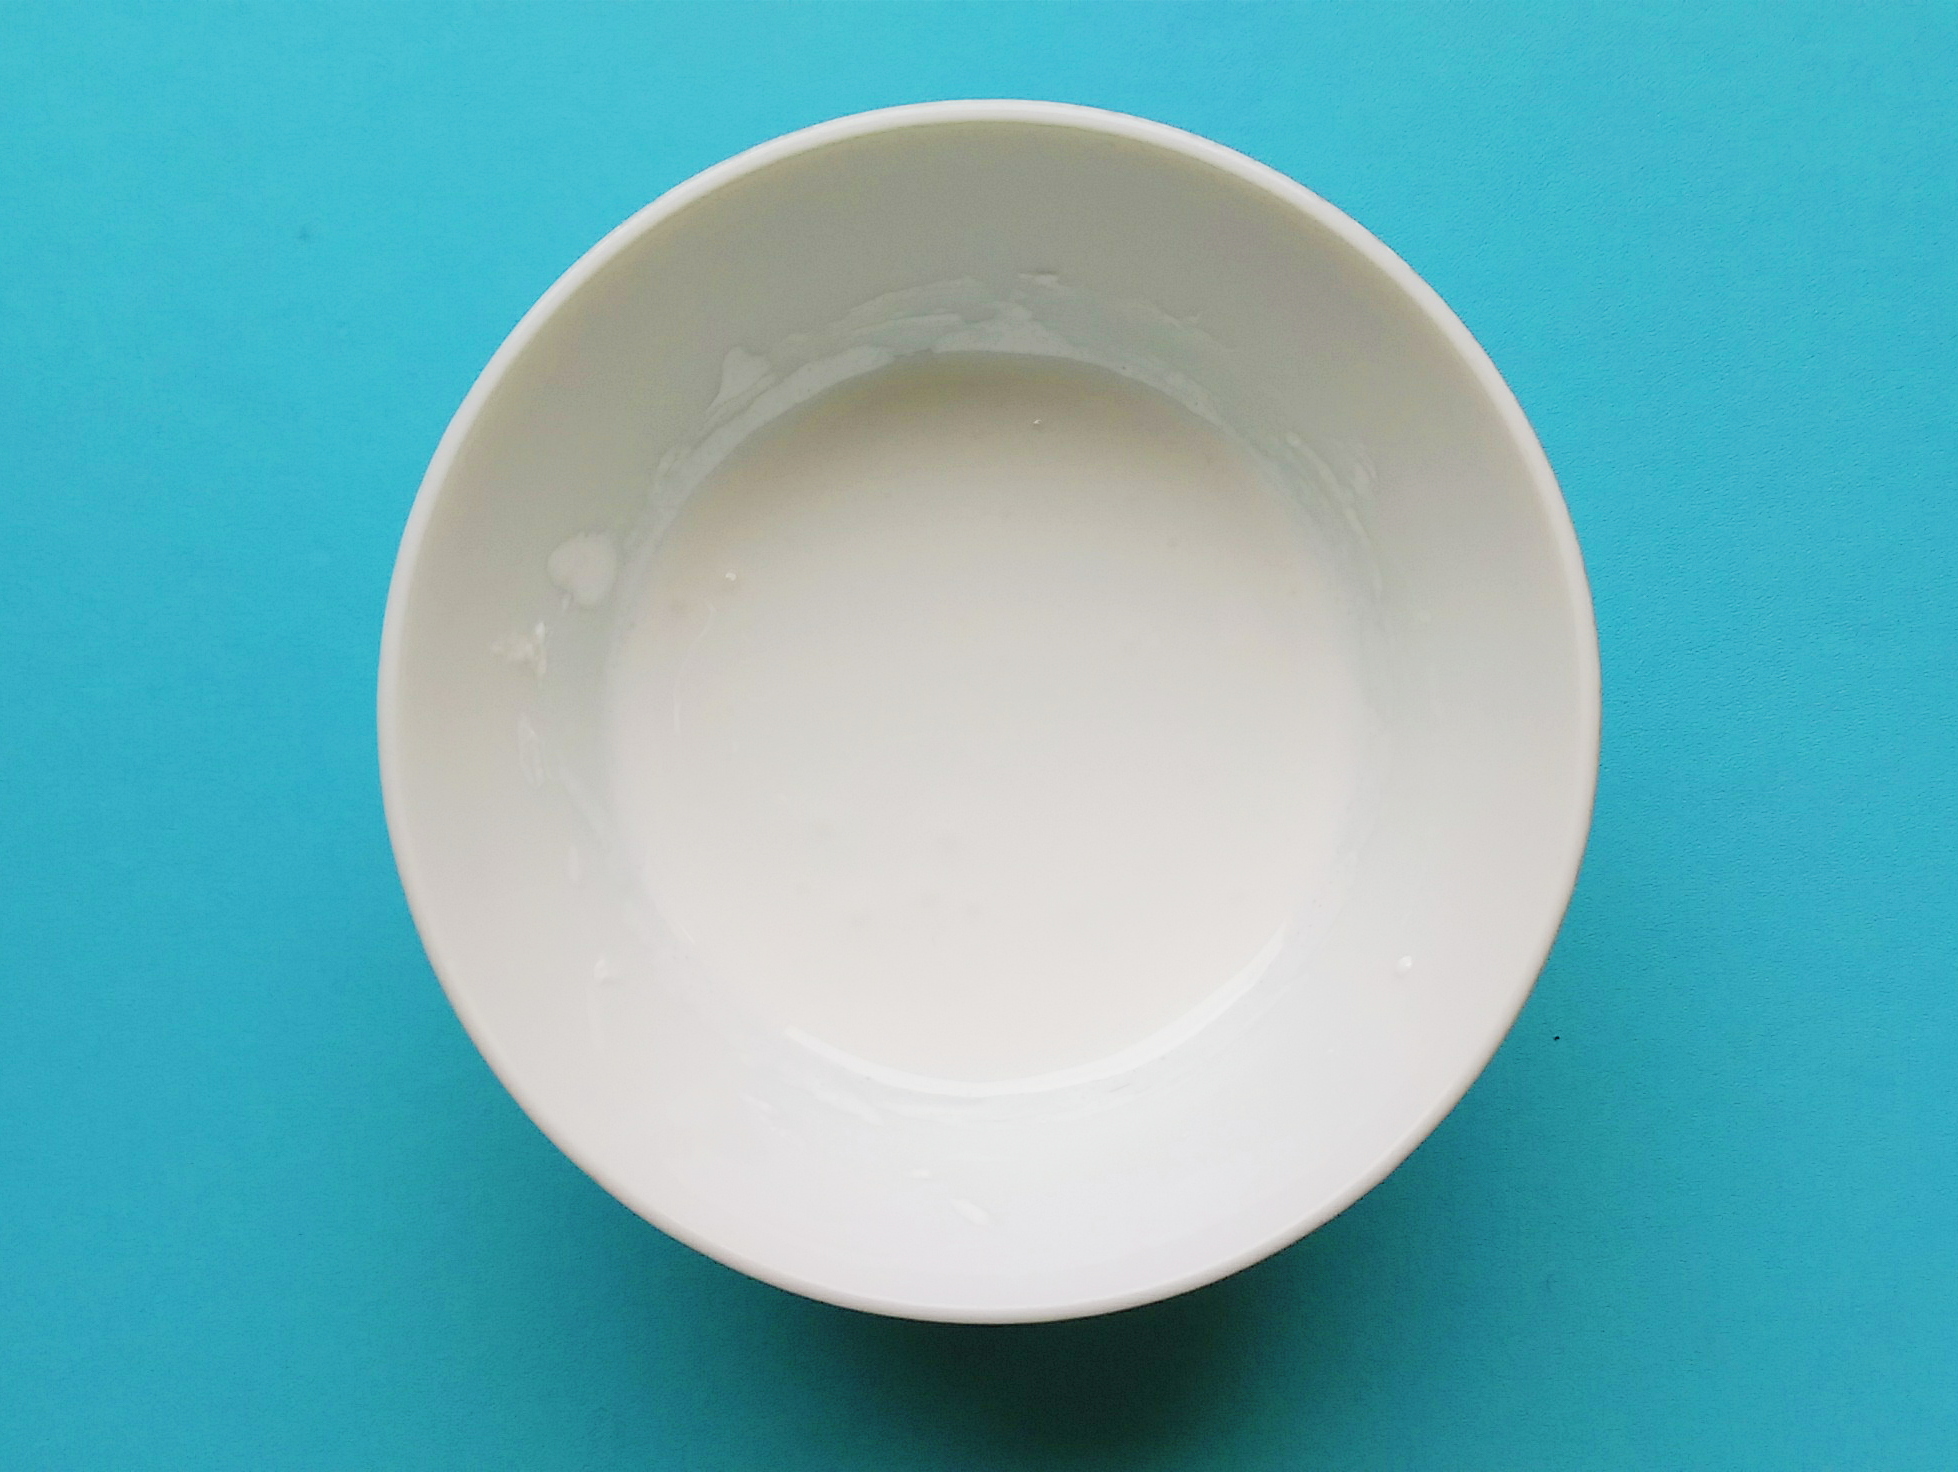
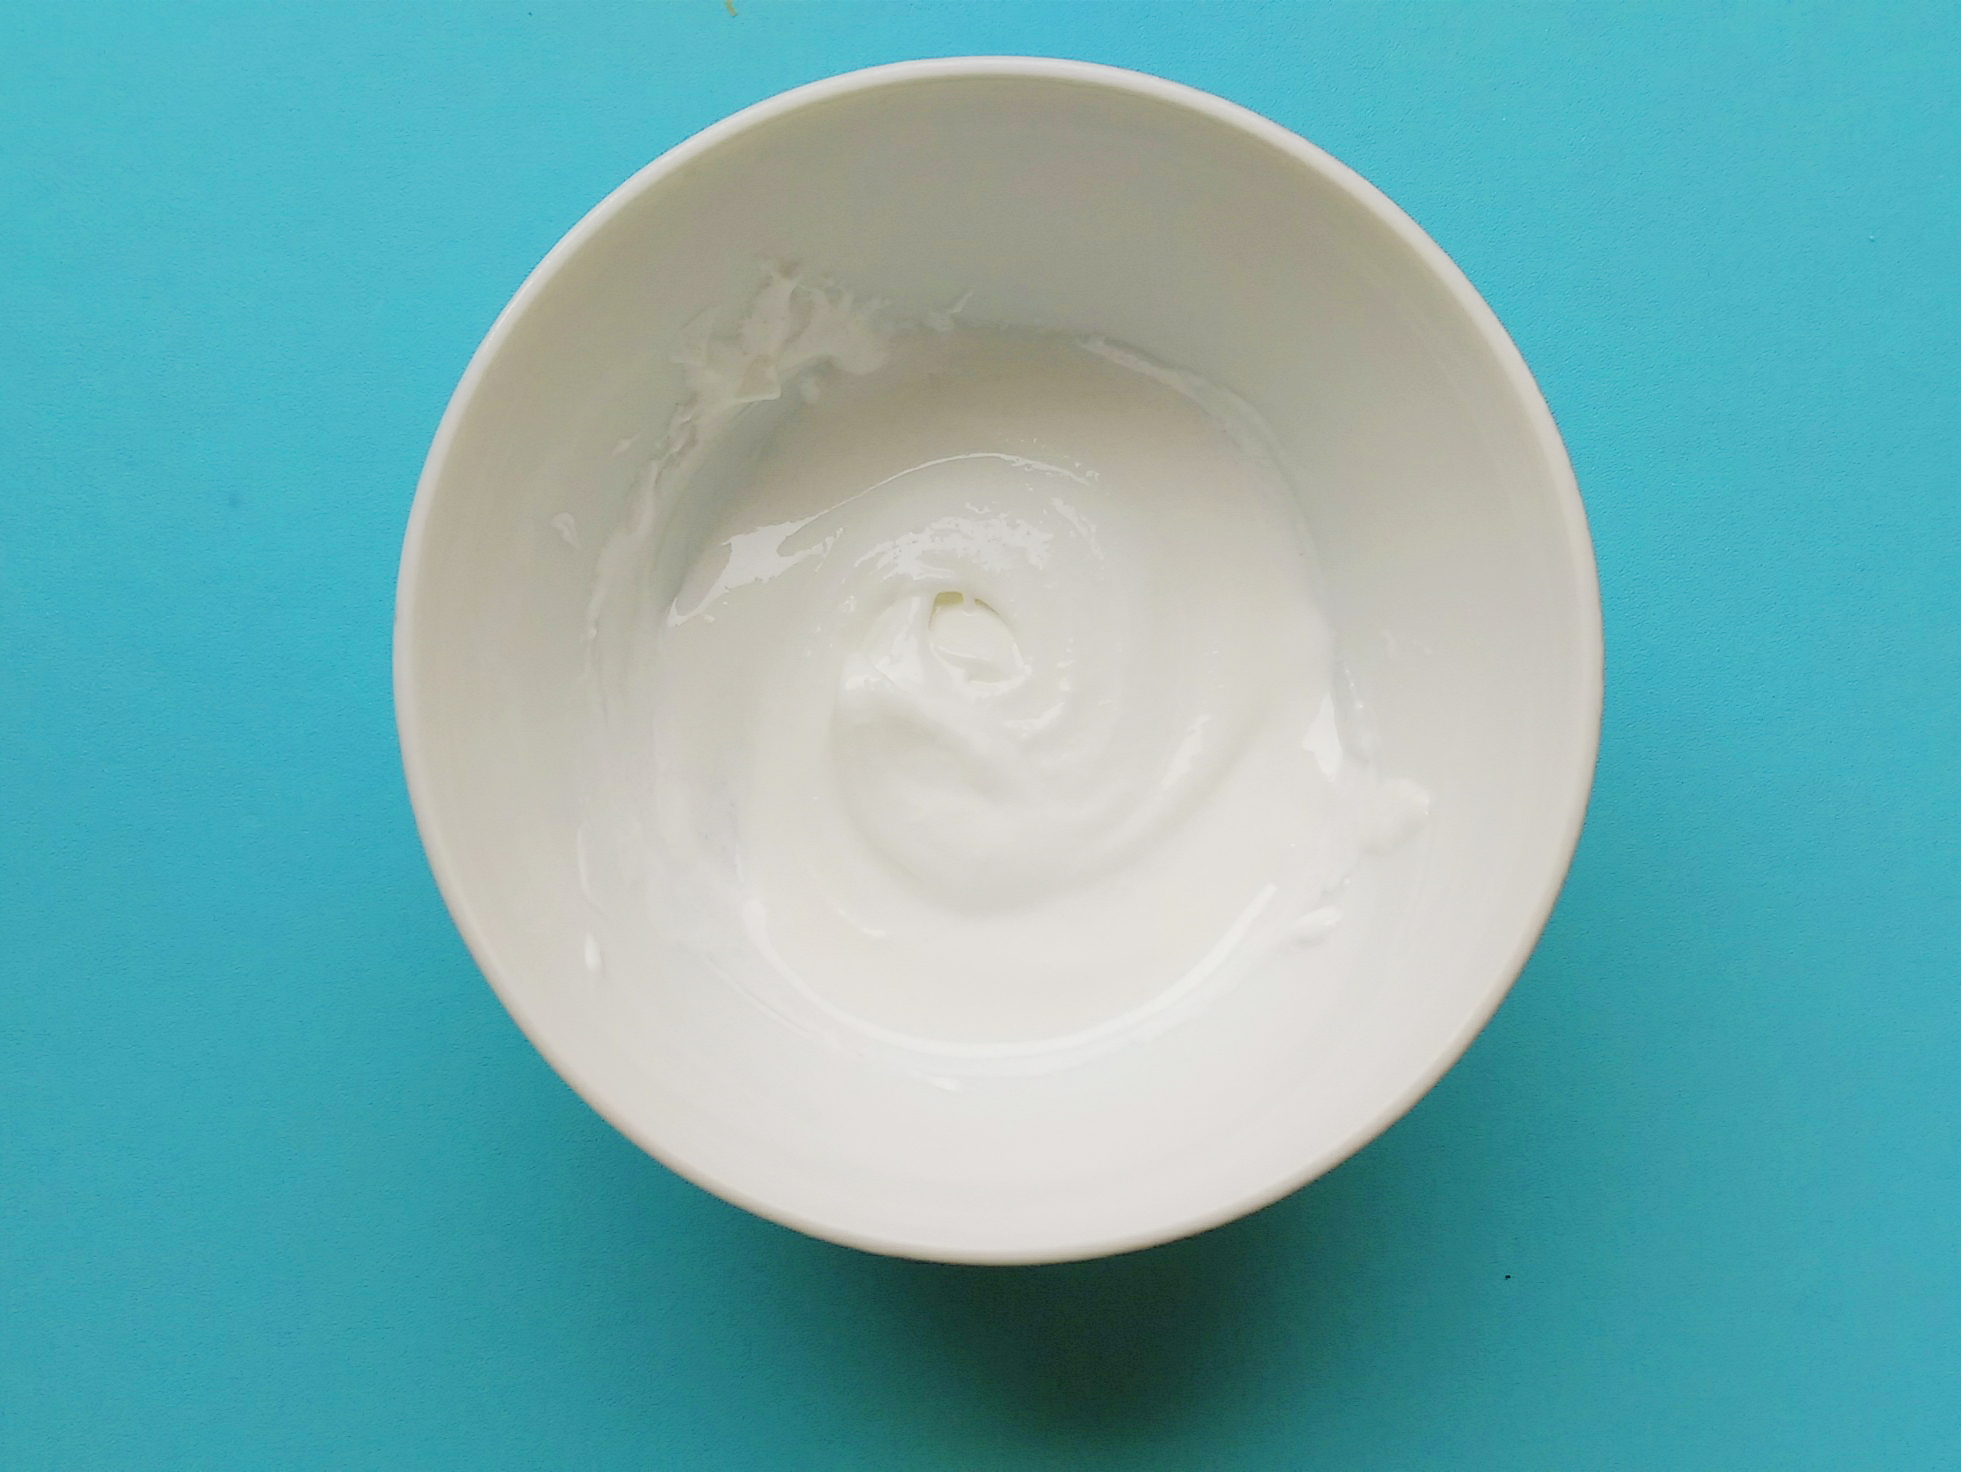
- Piping consistency royal icing
- Flooding consistency royal icing
- Decorating nozzles tip 2 –Tala Original Icing Tubes – No.2 Writer Medium Piping Nozzle.
- Skewer or chopstick (to spread the flood icing)