Wedding Cookie Ideas
Having cookies at weddings is not a new concept but when customers get creative with the design of their cookies for their special day, well things can get interesting. We will certainly consider any requests a customer may have, then we have a ponder, go straight to Pinterest or Google and have a search to get inspired and then maybe sketch something and come up with some solutions.
Customer’s Request
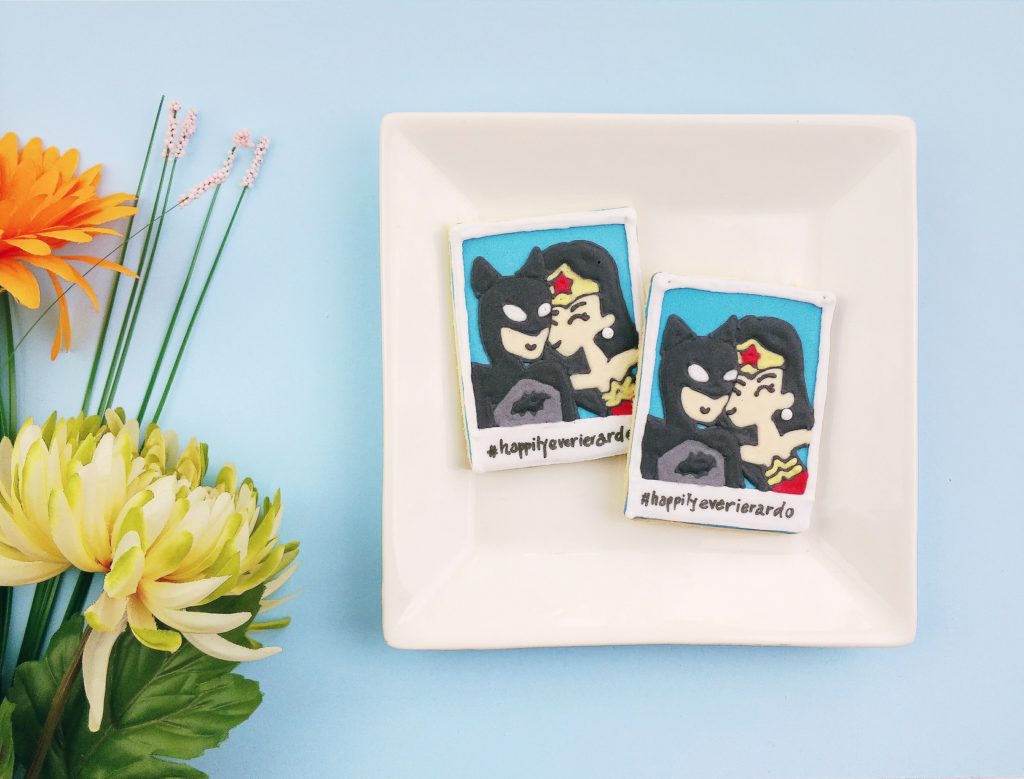
Recently we had a customer asking for a cookie which resembled a Polaroid with a portrait of the happy couple in it, so we though that’s a cute idea as we’ve done a similar design with a cartoon look to it. But there was a twist, she wanted them to be Superheroes. Um okay, I mean who doesn’t want to have Superheroes. So we asked the burning question – which two Superheroes?
The Outcome
The answer was… Batman for the groom and Wonder Woman for the Bride, a couple of designs were mocked up and here are the results!